Shop Model Trees
 Shop Model Bushes
 Shop Model Grass
Primo Models - Step by Step Guide
I will start by saying that, in my opinion, there is no one specific best way to create realistic low lying vegetation. Modellers all over the world are coming up with totally different, yet successful ideas, materials, and techniques om achieving realism on their dioramas and layouts. Furthermore, writing down all of the specific product codes for materials used, I think it is unnecessary. Colors, textures, and types of materials depend on what each modeller wants to present with the project. Furthermore, it has to be adjusted to the personal taste of a creator. In the end, it is all about your satisfaction. What I will try to do in this guide, instead of direct instructions, I will focus on giving a general idea of a specific order, which will help us to create realistic low lying vegetation easily.
Ideas for Needed Materials:
-Grass clumps (soon available in our shop)
-Static Grass Flowers (soon available in our shop)
-Static grass / flock
-Scatter materials
-Dry mosses
-pieces of wood
-Bark and dry leafs
-foliage nets
-seafoam
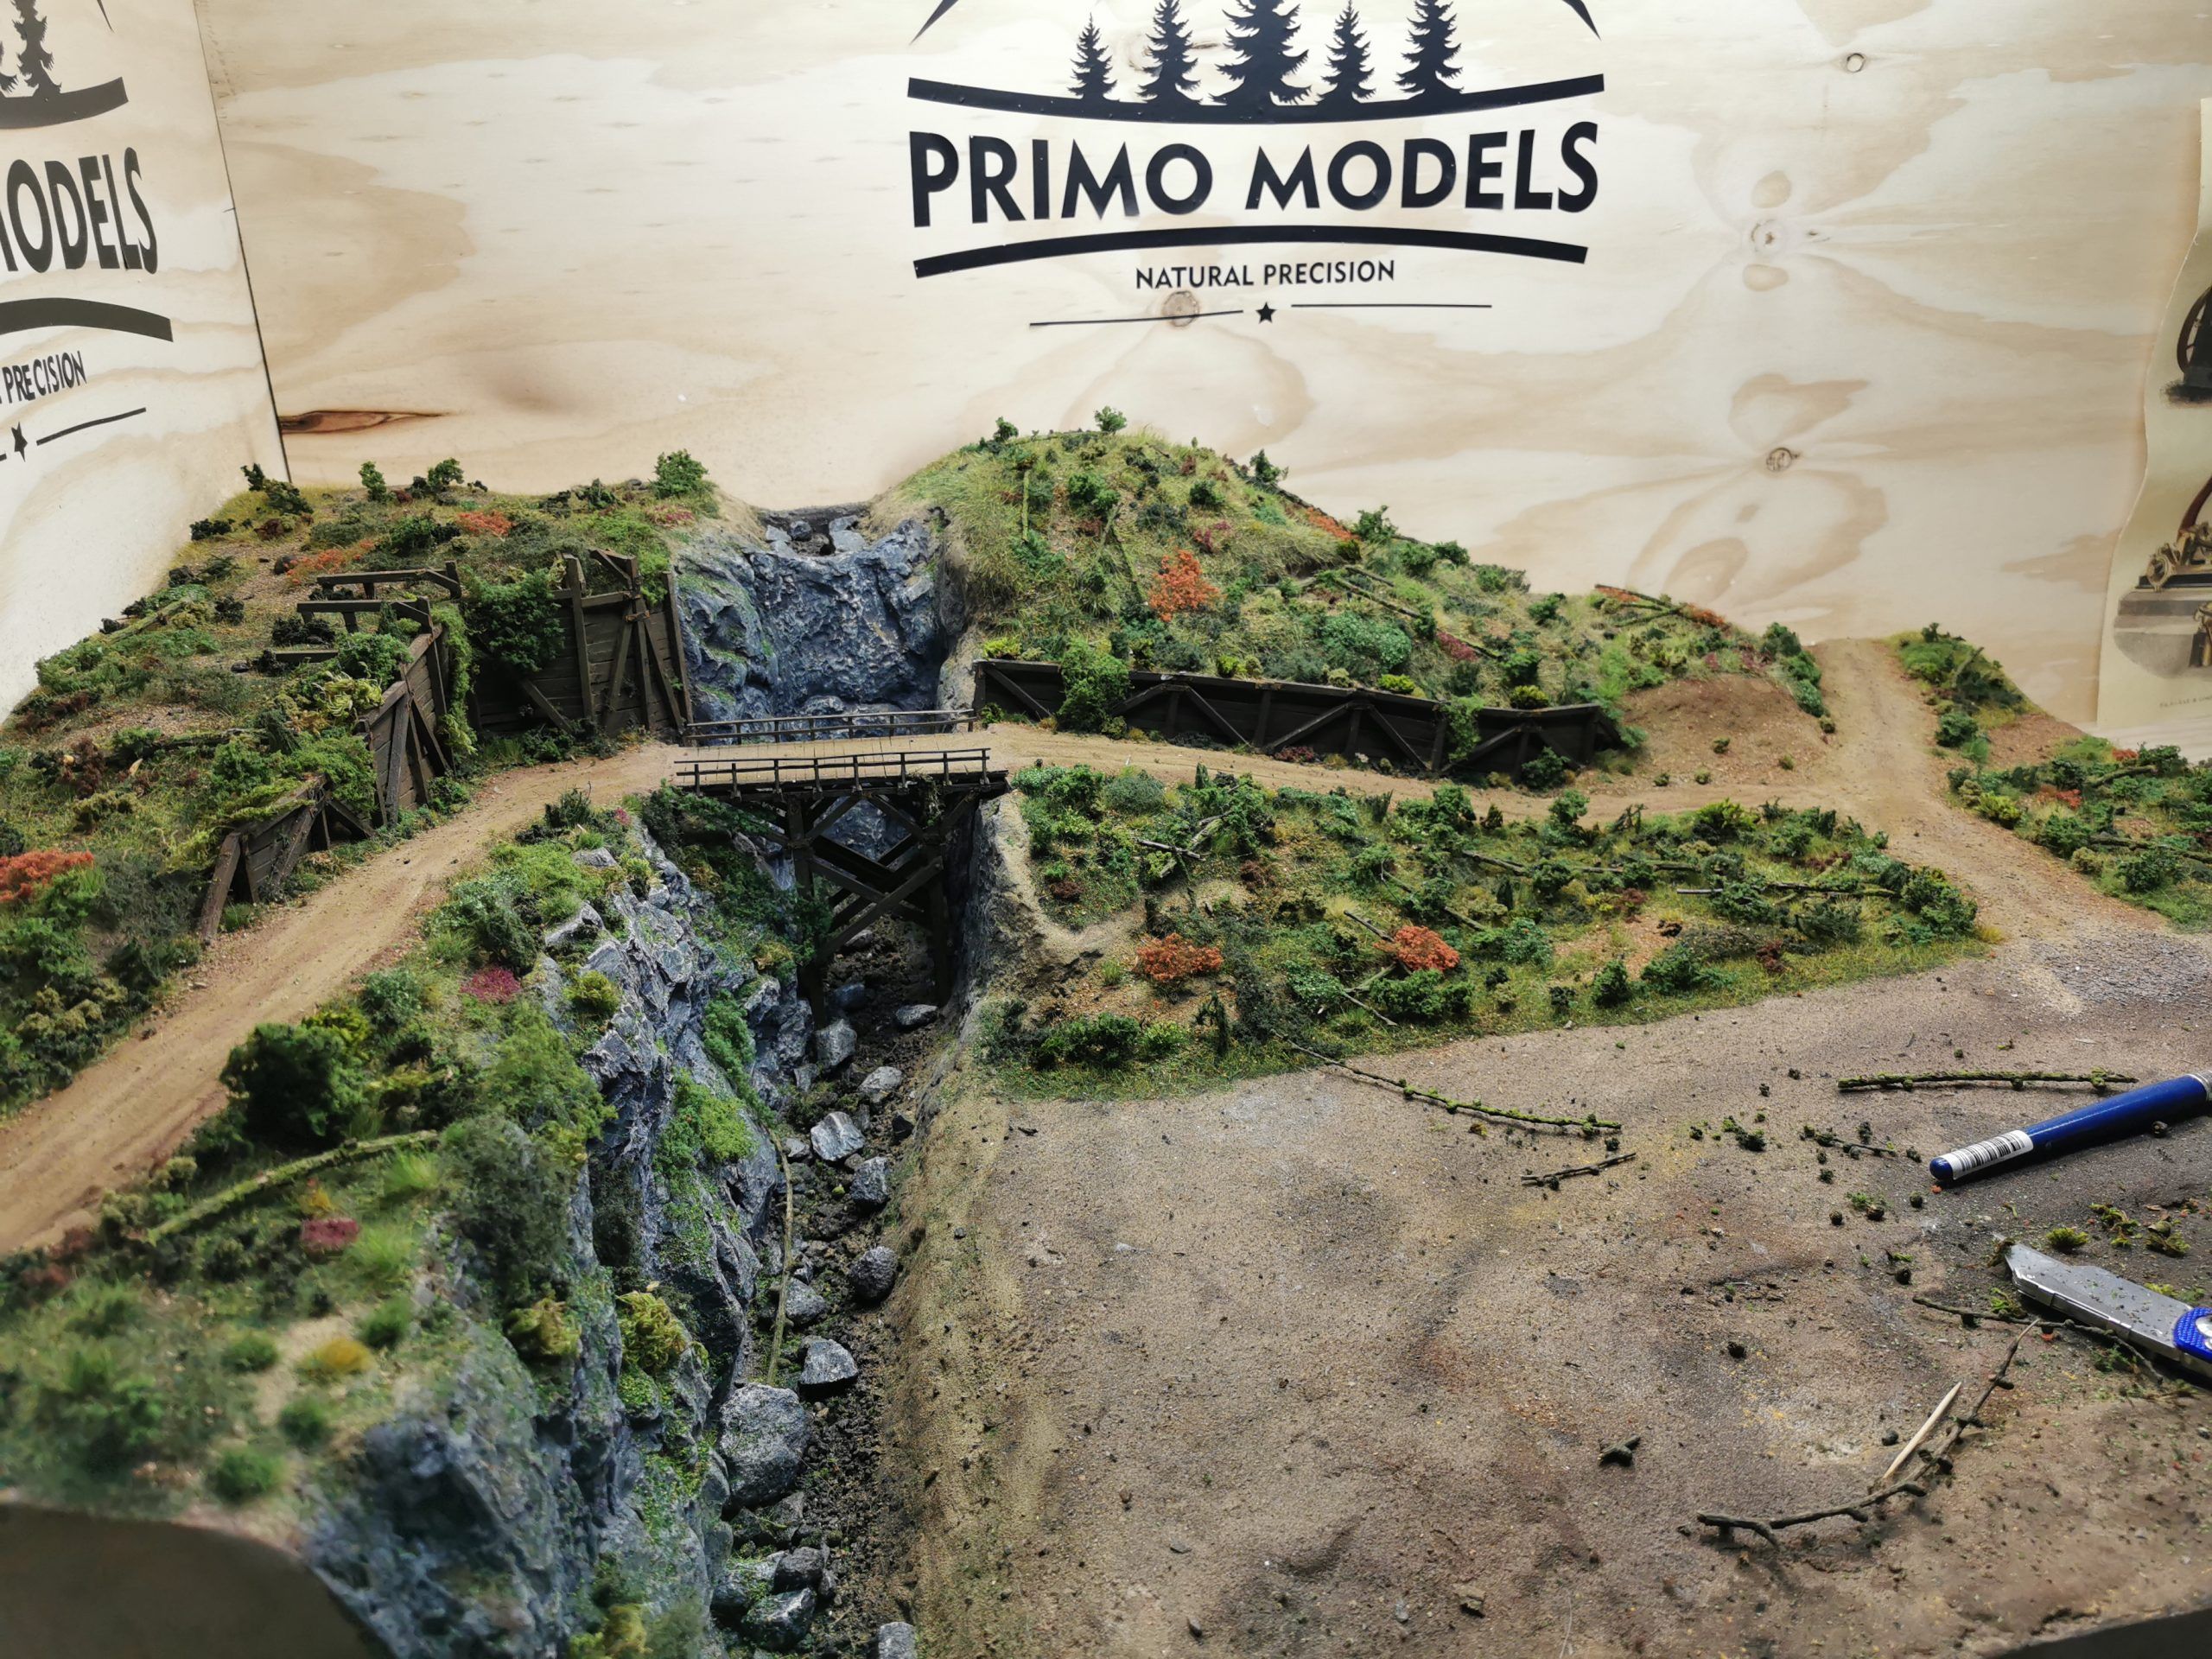
Realistic Low Lying Vegetation- Step By Step
Step 1
To achieve realistic low lying vegetation, I like to start by applying different colors and sizes of grass clumps and clumps of flowers. Trying to glue clumps after static grass has been applied, it will require scrubbing off spaces for grass clumps, so they do not hang in mid-air. If you are going after wild terrains, the more clusters, the better. Furthermore, do not be afraid of mixing different colors of grass next to each other. They may look weird at first, but each next step will always be covering “weirdness” and unperfections of the previous one.

Step 2
Now we can apply static grass/flock. Before doing that, I used mod podge glue to cover the area where I want to plant the grass. I like to leave some empty spots without grass that can be left blank as raw soil or coated with other scenic materials. Once again, there is no good and wrong when it comes to types/colors of grass. The only thing I could advise in this step is to mix different lengths and colors of grass and change the dominant grass color on different parts of your layout or diorama. When you finish the process, use the vacuum cleaner to remove all fibers that did not stick or felt on the area without glue. Last but not least, take a piece of wood and softly touch the grass in different spots breaking uniformity and perfection of freshly applied static grass.

Step 3
Now, to make our low lying vegetation even more realistic, we can apply all of the wood pieces we want as an imitation of old fallen trees in the forest (On the video, I have fitted them later on, and it added extra work). Afterward, it is the right time to use the first layer of a grounded mix of bark and dry leaves picked from the forest. As it is supposed to be imitation fo dry natural foliage, try to place more of it directly under the future planned trees, side of the roads, and another area that could block it from being blown any further by the wind. Secondly, apply multiple different fine scatter materials around and procced slowly towards bigger and bigger granulation of the spread. As usually try to cover all imperfections and areas you are unhappy with after applying static grass as well as ends of the wood pieces you have placed.

Step 4
Last but not least, we can add all sorts of different dry mosses, pre-made net foliages, and smallest shrubs made from, for example, seafoam or anything in that matter that reminds of vegetation. It will take some experimentation and time to find the right balance between different colors and types of ground covers. When you are happy with the lowest part of your flora, add once again a mix of bark and dry leaves on the top of your vegetation (avoid tops of shrubs).


As usual, I hope you have enjoyed reading the tutorial and will help you with building your projects. Please do not hesitate to leave any questions in the comments. You can be sure I will respond to them. The next tutorial will be about creating realistic medium and large bushes.
FULL GALLERY AT:
https://www.facebook.com/pg/Primomodelsuk/photos/?tab=album&album_id=509836506577410
Join Primo Family at:
www.facebook.com/primomodelsuk
www.instagram.com/primomodelsin
Watch Video Tutorial: